Blog
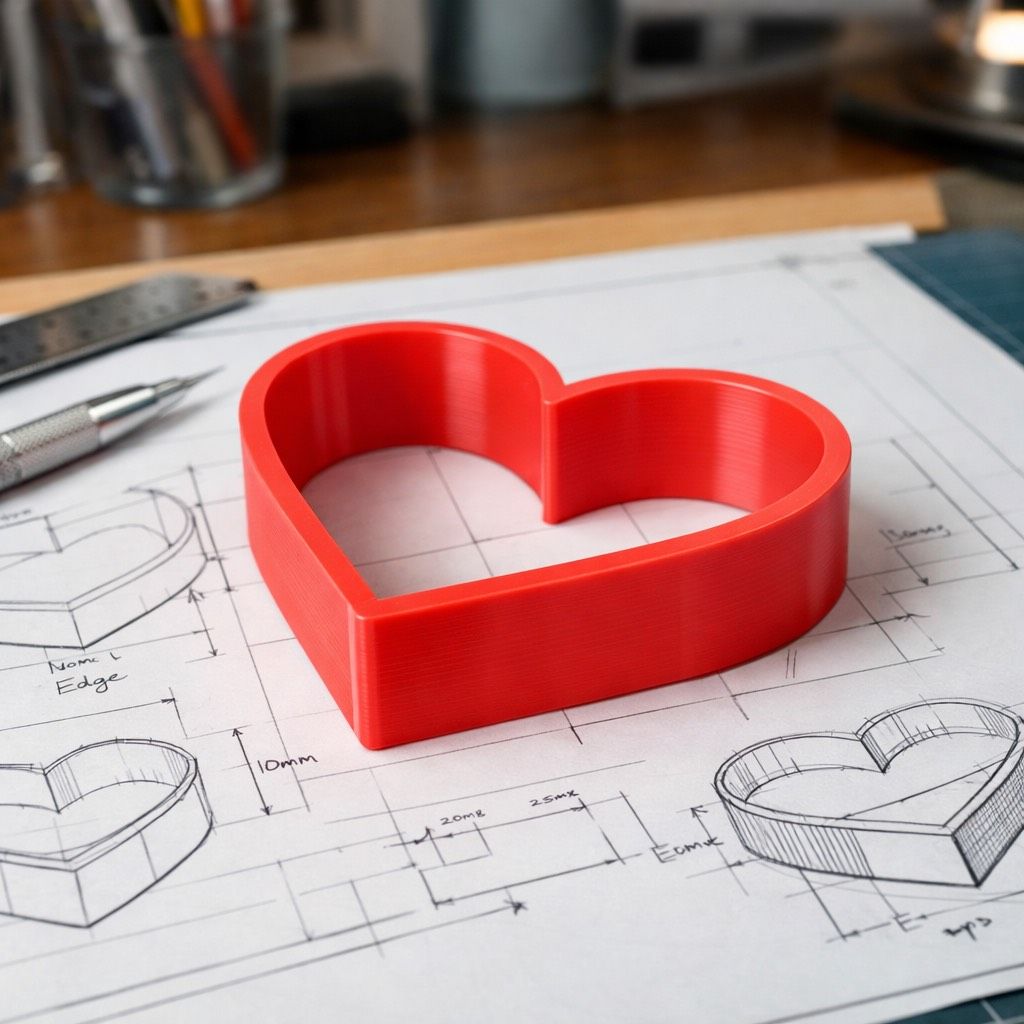
Essential 3D Printer Settings For Sharp Edged Fondant Cutters
Mar
Key 3D Printer configurations for Precision Fondant Cutters
Optimal Layer Height for Smooth Finishes
Adjusting the layer height to 0.12mm is crucial for achieving exceptionally smooth surfaces on yoru 3D printed fondant cutters.This fine setting minimizes visible lines and imperfections, resulting in a polished final product that enhances the overall aesthetic of your cake designs.
Utilizing Ironing Techniques for Flawless Surfaces
Activating the ironing feature in your slicing software can significantly improve the quality of your fondant cutters. This technique ensures that the top layers are flattened, creating an even and pristine pressing surface. The result is a cleaner cut when working with fondant, allowing for intricate designs without any unwanted texture.
Complete Calibration Guide for Your 3D Printer
To ensure optimal performance when printing fondant cutters, it’s essential to calibrate your 3D printer accurately. Our extensive guide on slicing profiles specifically tailored for fondant cutter production will walk you through each step of the calibration process. Proper calibration not only enhances print quality but also increases reliability and consistency across multiple prints.
By implementing these essential settings and techniques, you can elevate your cake decorating projects with precision-crafted fondant cutters that meet professional standards.